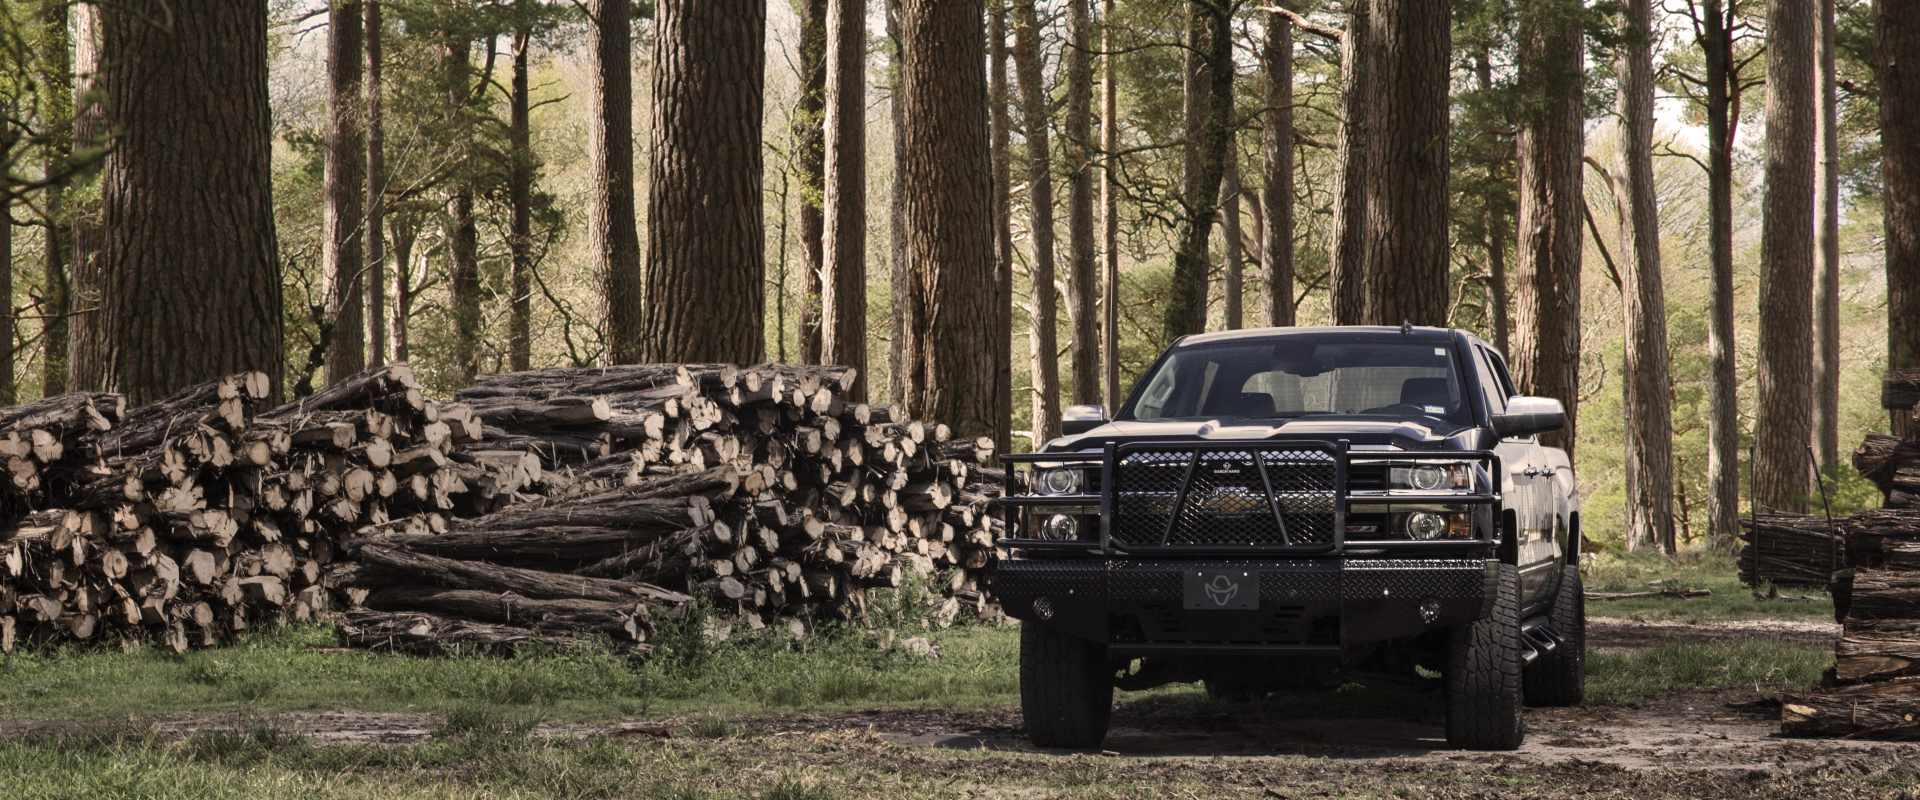
Upgrading the front bumper on a heavy-duty truck is about more than changing the look of the vehicle. For many Silverado HD owners, installing a replacement bumper is about adding real-world protection, improving front-end durability, and preparing the truck for demanding work environments, ranch use, towing, or off-road driving.
Whether you drive a Chevrolet Silverado 2500 HD or Silverado 3500 HD, replacing the factory bumper with a heavy-duty steel option can dramatically change how the truck performs in harsh conditions. A Ranch Hand bumper is built specifically for truck owners who expect more from their equipment and want protection that matches the capability of their truck.
This guide walks through the general process of a Chevy Silverado 2500 HD or 3500 HD bumper installation using Ranch Hand bumpers as a practical example. While exact installation steps can vary slightly depending on bumper model and truck configuration, the overall process remains very similar across most Silverado HD applications.
- Why Are Ranch Hand Bumpers So Popular?
- Tools, Equipment & Workspace Requirements
- Ranch Hand Bumper Parts Included
- Safety Precautions Before Starting
- Removing Your Factory Bumper
- Installing a Ranch Hand Bumper
- Reinstalling Sensors, Lights, & Accessories
- Final Alignment Checks & Post-install Inspection
- Practical Tips for Easier Installation
- FAQ
Who This Guide Is For
This guide is designed for:
- DIY truck owners comfortable working with hand tools and heavy components
- Ranchers, contractors, and fleet owners upgrading work trucks
- Silverado HD owners installing their first aftermarket bumper
- Professional installers looking for a general installation overview
Installing a replacement bumper on a Silverado HD is considered a moderate-to-advanced install due to the size and weight of heavy-duty steel bumpers. Many Ranch Hand bumpers weigh significantly more than the factory bumper assembly, so proper lifting equipment or additional help is strongly recommended.
If you are unfamiliar with vehicle electrical systems, sensor relocation, or heavy component installation, professional installation may be the best option.
Why Ranch Hand Bumpers Are Popular on Silverado HD Trucks
Heavy-duty Chevrolet trucks are often used in environments where factory bumpers simply are not designed to hold up long term. From ranch roads and construction sites to towing and wildlife-prone highways, Silverado HD owners frequently want more front-end protection than OEM components can provide.
That is one reason Ranch Hand bumpers are commonly chosen for Silverado 2500 HD and 3500 HD trucks.
Ranch Hand bumpers are known for:
- Full grille and headlight protection
- Heavy-duty steel construction
- One-piece welded designs
- Compatibility with many factory safety systems
- Aggressive styling built around work-ready durability
- Applications designed specifically for HD truck platforms
Many Ranch Hand front bumpers are also designed to accommodate factory tow hooks, sensors, cameras, and lighting systems depending on the exact truck and bumper model.
For Silverado HD owners who tow regularly or drive in rural environments, the added protection can help reduce damage from impacts that would easily destroy a factory bumper assembly.
Tools, Equipment, and Workspace Requirements
Before starting your Silverado 3500 HD replacement bumper installation, gather all required tools and prepare a safe workspace.
Because these bumpers are large and extremely heavy, having enough room around the truck is important.
1. Recommended Tools
Most Ranch Hand bumper installations require:
- Ratchet and socket set
- Combination wrenches
- Torque wrench
- Trim removal tools
- Flathead screwdriver
- Phillips screwdriver
- Pry tools
- Breaker bar
- Cordless impact driver
- Safety glasses
- Mechanic gloves
2. Recommended Equipment
For a safer and easier installation, it is also helpful to have:
- Floor jack
- Jack stands
- Moving blankets or cardboard
- A second installer or helper
- Adjustable support stand or transmission jack for positioning the bumper
3. Workspace Considerations
A level garage floor or shop space is ideal. Avoid performing the installation on uneven gravel or sloped surfaces whenever possible.
Good lighting is also important since much of the work happens underneath the front end of the truck and around electrical connectors.
Parts Included With a Ranch Hand Replacement Bumper
While exact contents can vary slightly depending on the specific Ranch Hand model and Silverado HD configuration, most bumper kits include everything needed for the primary installation process.
Common components typically include:
- Main bumper assembly
- Mounting brackets
- Frame support brackets
- Grade-rated hardware packs
- Sensor mounting components
- License plate mounting brackets
- Installation instructions
Depending on the bumper model, additional pieces may also be included for:
- Fog light mounting
- Camera relocation
- Adaptive cruise control systems
- Tow hook integration
- Trim or filler panels
Before beginning the installation, take time to fully unpack and inspect every component included with the bumper kit. Heavy-duty steel bumpers are substantial components, and shipping damage, missing hardware, or misplaced brackets are much easier to address before the factory bumper has been removed from the truck.
Lay out all hardware and brackets in an organized workspace and compare each component to the installation manual. Many installers find it helpful to separate bolts, washers, spacers, and brackets into labeled trays or containers before starting the install. Doing this upfront can save significant time later during assembly and alignment.
It is also a good idea to familiarize yourself with the orientation of the mounting brackets before lifting the bumper into place. Some Silverado HD bumper systems use side-specific brackets or multiple support plates that can appear similar at first glance. Verifying their location ahead of time helps avoid unnecessary disassembly later.
If your Silverado 2500 HD or 3500 HD is equipped with factory parking sensors, cameras, or adaptive cruise systems, inspect the included sensor mounting provisions and confirm compatibility with your specific truck configuration before installation begins.
Taking a few extra minutes during preparation can make the overall Ranch Hand bumper installation process substantially smoother and help reduce frustration once the heavy lifting starts.
Safety Precautions Before Starting the Install
Before removing the factory bumper from your Silverado HD, take a few important safety precautions to help protect both yourself and the truck during the installation process.
Heavy-duty aftermarket bumpers are significantly larger and heavier than factory bumper assemblies, and modern trucks contain sensitive electrical systems that should be handled carefully during disassembly and reinstallation.
Proper preparation goes a long way toward preventing injuries, damaged components, or unnecessary installation issues later in the process.
1. Disconnect the Battery
Modern Chevrolet Silverado HD trucks often include a wide range of integrated electrical and safety systems within the front bumper assembly.
Depending on the trim level and model year, this may include:
- Parking sensors
- Adaptive cruise control systems
- Front-facing cameras
- Fog lights
- Collision alert systems
- Marker lights
- Wiring harnesses mounted directly to the bumper
Before disconnecting any electrical connectors, remove the negative battery terminal to help prevent accidental shorts, warning lights, or electrical damage during installation.
This is especially important on newer Silverado 2500 HD and 3500 HD trucks equipped with advanced driver assistance systems and integrated front-end electronics.
When unplugging sensors or wiring harnesses, avoid pulling directly on the wires themselves. Carefully release retaining clips and connectors to prevent broken tabs or damaged terminals.
2. Support Heavy Components Properly
Factory Silverado HD bumpers are already fairly heavy, but Ranch Hand bumpers are substantially heavier due to their one-piece steel construction and reinforced design.
Never attempt to remove or install either bumper without proper support.
Trying to balance a heavy bumper by hand during installation can quickly lead to injuries, scratched paint, damaged wiring, or bent mounting brackets.
For safer installation, use:
- A second person
- Floor jacks
- Jack stands
- Adjustable support stands
- Transmission jacks or lifting equipment
Many installers find that using a floor jack with a wood support block underneath the bumper helps stabilize the assembly during alignment and hardware installation.
Having a second set of hands available is especially helpful during final positioning, where even small alignment adjustments can make a noticeable difference in bumper fitment.
3. Protect Painted Surfaces and Body Panels
Because the bumper installation process takes place directly around the grille, headlights, and fenders, protecting painted surfaces is important throughout the install.
Use:
- Moving blankets
- Foam pads
- Cardboard
- Fender covers
around the front of the truck while removing and positioning the bumper.
This helps reduce the risk of accidental scratches or chips while maneuvering heavy steel components into place.
It is also smart to keep removed factory parts organized and off the ground whenever possible. Placing components directly on concrete can easily scratch painted surfaces or damage trim pieces that may be reused later.
4. Work on a Stable, Level Surface
Whenever possible, perform the installation inside a garage or shop on a flat, level surface.
Avoid working on:
- Uneven gravel
- Soft ground
- Sloped driveways
Heavy bumpers can shift unexpectedly during installation, especially when supported by jacks or stands. A stable work surface helps improve safety and makes bumper alignment much easier during final installation.
Good lighting is also important since much of the work takes place underneath the front end of the truck and around electrical connections hidden behind the bumper assembly.
Taking the time to properly prepare your workspace before starting the install can help the entire Chevy Silverado 2500 HD or 3500 HD bumper installation process go much more smoothly from start to finish.

Step-by-Step Removal of the Factory Bumper
The first major step in a Chevy heavy-duty truck bumper install is removing the factory bumper assembly.
Exact fastener locations may vary slightly by trim level and model year, but most Silverado HD trucks follow a similar process.
1. Disconnecting Sensors, Lights, and Wiring
Before removing mounting hardware, disconnect all electrical components attached to the factory bumper.
Depending on your truck, this may include:
- Fog lights
- Front parking sensors
- Front camera wiring
- Adaptive cruise sensors
- Marker lights
- Harness clips
Carefully release wiring retainers and avoid pulling directly on connectors.
If your Ranch Hand bumper supports factory sensors, label connectors during removal to make reinstallation easier later.
Many Silverado HD trucks route wiring harnesses through plastic clips attached to the bumper itself. These clips often need to be gently pried loose before the bumper can be removed.
2. Unbolting and Removing the OEM Bumper
Once wiring is disconnected, begin removing the factory mounting hardware.
Most Silverado HD factory bumpers attach directly to frame horns using multiple bolts on each side.
General Removal Process:
- Remove lower valance components if equipped
- Remove factory tow hook trim pieces if necessary
- Loosen bumper mounting bolts
- Support the bumper before removing final hardware
- Carefully slide the bumper assembly away from the truck
Factory bumpers can be awkward to maneuver, especially when grille guards or additional trim pieces are involved.
Having a second person supporting the opposite side of the bumper makes removal much safer and helps prevent accidental contact with the grille or fenders.
After removal, inspect the frame mounting surfaces and clean away dirt or corrosion before installing new brackets.
Step-by-Step Installation of the Ranch Hand Bumper
With the factory bumper removed, installation of the Ranch Hand bumper can begin.
Because Ranch Hand bumpers are vehicle-specific, mounting points are engineered around the Silverado HD frame dimensions for a secure fit.
1. Installing Mounting Brackets and Aligning the Frame
Most Ranch Hand bumper systems begin with bracket installation.
Attach supplied brackets to the factory frame locations using the included hardware.
Important Installation Tip:
Do not fully tighten hardware during the initial setup phase.
Leaving hardware slightly loose allows adjustment during final bumper alignment.
During this step:
- Confirm brackets are installed in the correct orientation
- Verify all hardware matches instruction diagrams
- Ensure frame contact surfaces sit flush
- Check for interference with factory wiring or components
Improper bracket orientation is one of the most common causes of alignment issues during an aftermarket bumper Silverado HD installation.
2. Lifting and Test-Fitting the Ranch Hand Bumper
After brackets are installed, the bumper can be lifted into position.
Because of the weight involved, this is where extra help becomes extremely valuable.
Recommended Methods for Positioning
Many installers use:
- Two-person lifting
- Transmission jacks
- Floor jacks with wood supports
- Adjustable support stands
Carefully position the bumper onto the mounting brackets and loosely install hardware.
Before tightening anything fully, inspect alignment around:
- Headlights
- Grille openings
- Fender gaps
- Hood clearances
- Tow hook openings
Minor adjustments are normal during this stage.
3. Test-Fitting Before Final Tightening
One of the biggest mistakes during a Ranch Hand bumper installation is tightening hardware too early.
Before applying final torque:
- Step back and visually inspect alignment
- Check bumper spacing side-to-side
- Ensure the bumper sits level
- Verify grille guard clearance
- Open and close the hood to confirm clearance
Heavy-duty bumpers often require small adjustments to achieve ideal fitment.
Taking extra time here usually produces much cleaner final results.
4. Torqueing Hardware to Manufacturer Specifications
Once alignment is confirmed, hardware can be tightened according to Ranch Hand installation instructions and appropriate torque specifications.
Use a calibrated torque wrench whenever possible.
Proper torque is important because:
- Under-tightened hardware can loosen over time
- Over-tightened hardware can damage brackets or fasteners
- Uneven tightening can affect alignment
Tighten hardware gradually and evenly across all mounting points.
After the initial installation, many installers also recheck torque after several hundred miles of driving.

Reinstalling Sensors, Lights, and Accessories
Once the bumper is securely mounted and aligned, reinstall all factory components compatible with the Ranch Hand bumper design.
Depending on the specific bumper model and Silverado HD configuration, this may include:
- Parking sensors
- Factory fog lights
- Front-facing cameras
- Tow hooks
- LED lighting accessories
- Marker lights
- License plate mounts
Before reinstalling components, verify the bumper is sitting in its final aligned position. Making major alignment adjustments after sensors and wiring have been reinstalled can add unnecessary time and increase the risk of damaging connectors or harnesses.
1. Reinstalling Parking Sensors
If your Silverado 2500 HD or 3500 HD is equipped with factory parking sensors, take extra care during installation.
Parking sensors are often directional and must sit correctly within the sensor bezels to function properly. Incorrect positioning can lead to:
- False alerts
- Dashboard warning lights
- Reduced sensor performance
When reinstalling sensors:
- Confirm each sensor is installed in the correct location
- Verify bezels are fully seated
- Ensure connectors click firmly into place
- Avoid overtightening clips or mounting hardware
If the sensors were labeled during bumper removal, reinstalling them in their original positions can make this process much easier.
2. Reinstalling Lights and Accessories
Many Ranch Hand bumpers are designed to accommodate factory fog lights or aftermarket auxiliary lighting.
As lights are reinstalled:
- Verify mounting hardware is secure
- Confirm wiring connections are fully seated
- Check that lights are aimed properly
This is also a good time to reinstall tow hooks, license plate brackets, or any additional accessories included with the bumper.
3. Route Wiring Carefully
Once all components are installed, secure all wiring harnesses before final cleanup.
Carefully route wiring:
- Away from sharp metal edges
- Away from moving components
- Along factory-style routing paths whenever possible
Use zip ties or factory-style retainers to keep loose harnesses secure and organized.
Loose wiring can eventually rub through insulation or create intermittent electrical problems over time.
4. Test Electronics Before Finishing
Before wrapping up the installation, reconnect the battery and test all electronics and accessories.
Check operation of:
- Parking sensors
- Fog lights
- Cameras
- Marker lights
- Auxiliary lighting
If any warning lights or sensor faults appear, recheck connector seating and sensor orientation before driving the truck.
Taking a few extra minutes during this stage can help ensure the entire Silverado HD replacement bumper installation is fully completed and functioning properly before the truck goes back into regular use.
Final Alignment Checks and Post-Install Inspection
Before considering the installation complete, take time to perform a full inspection of the bumper, mounting hardware, and surrounding components.
Even if the bumper initially appears aligned, small adjustments and final checks can make a big difference in overall fitment, appearance, and long-term reliability.
This final inspection stage helps ensure everything is properly secured and functioning correctly before the truck returns to regular driving, towing, or work use.
1. Final Installation Checklist
Before wrapping up the install, verify:
- All mounting hardware is fully tightened
- Parking sensors are functioning properly
- Fog lights and marker lights operate correctly
- The bumper sits level across the front of the truck
- Hood and grille clearances are even
- Wiring is properly secured
- No harnesses are pinched or rubbing
- Tow hook openings are properly aligned if applicable
It is also a good idea to visually inspect the bumper from multiple angles to confirm body gaps and spacing are consistent from side to side.
2. Check Hood and Grille Clearance
Open and close the hood several times while inspecting the spacing around:
- The grille
- Headlights
- Upper bumper surfaces
Heavy-duty bumpers can sometimes shift slightly during final tightening, so verifying proper clearance now can help prevent rubbing or contact issues later.
If anything appears uneven, loosen the hardware slightly and make small alignment adjustments before retightening.
3. Test All Electronics and Safety Systems
Reconnect the battery and start the truck to verify all electrical systems are functioning properly.
Check:
- Parking sensors
- Front cameras
- Fog lights
- Marker lights
- Adaptive cruise systems if equipped
Watch for any warning lights or sensor alerts on the dashboard.
If alerts appear, recheck:
- Sensor orientation
- Connector seating
- Wiring harness connections
Many sensor-related issues are caused by connectors not being fully locked into place during reinstallation.
4. Recheck Hardware After Driving
After several days of driving or towing, it is smart to perform one final hardware inspection.
Heavy steel bumpers can settle slightly after installation as brackets fully seat and vibration cycles occur during normal driving conditions.
Rechecking mounting hardware after the first few hundred miles can help ensure long-term fitment and reliability.
Taking a little extra time during the final inspection process helps ensure your Chevy Silverado 2500 HD or 3500 HD bumper installation is fully complete and ready for years of hard use.
Practical Tips to Make the Install Easier
A few simple strategies can make a Silverado 2500 HD or 3500 HD bumper installation significantly smoother, especially for first-time installers working with a heavy-duty steel bumper for the first time.
Because Ranch Hand bumpers are substantially heavier and larger than factory bumper assemblies, proper preparation and patience can make a major difference during installation.
1. Have Extra Hands Available
Heavy-duty bumpers are not easy to position alone.
Even experienced installers often use at least one helper during final mounting and alignment.
2. Leave Hardware Loose Until Final Alignment
This cannot be overstated.
Slight movement during test fitting is critical for achieving even body gaps and proper bumper positioning.
3. Protect the Powder Coat During Installation
Ranch Hand bumpers feature durable finishes, but accidental scratches can still happen during installation.
Use moving blankets or cardboard while positioning the bumper to help protect the finish.
4. Organize Hardware Before Starting
Separating bolts, washers, and brackets ahead of time helps prevent confusion during installation.
Many installers use labeled trays or magnetic bowls to keep hardware organized.
Troubleshooting Fitment or Alignment Issues
If the bumper does not align properly during installation, several common causes are usually responsible.
In most cases, small adjustments are all that is needed to correct fitment issues.
1. Uneven Bumper Gaps
Possible causes include:
- Brackets installed backward
- Hardware tightened too early
- Frame mounting points not fully seated
Loosen hardware slightly and readjust alignment.
2. Sensor Warning Lights
If parking sensor warnings appear:
- Check sensor orientation
- Confirm connectors are fully seated
- Verify sensors are mounted securely
Some systems may require recalibration depending on truck configuration.
3. Hood or Grille Interference
If the bumper contacts the grille or hood:
- Recheck bracket alignment
- Confirm correct bumper model
- Inspect frame mounting locations
Small alignment adjustments are often enough to resolve clearance issues.
Final Thoughts
A heavy-duty front bumper upgrade can dramatically improve the protection, durability, and capability of a Chevrolet Silverado 2500 or 3500 HD truck.
Whether the truck is used for ranch work, towing, construction, or everyday driving in harsh environments, a properly installed Ranch Hand bumper adds serious front-end strength built for real-world use.
Taking time during installation to properly align brackets, protect wiring, and carefully test-fit the bumper helps ensure long-term performance and a clean final appearance.
For Silverado owners who demand more from their trucks, a heavy-duty Ranch Hand bumper is built to match the capability of the truck behind it.
Frequently Asked Questions
-
How difficult is a Chevy Silverado 2500 HD bumper installation?
Most heavy-duty bumper installs are considered moderate-to-advanced DIY projects due to the weight of the bumper and the involvement of factory electronics and sensors.
-
Can I install a Ranch Hand bumper by myself?
It is technically possible, but strongly discouraged. Ranch Hand bumpers are extremely heavy, and having additional help makes installation much safer and easier.
-
Do Ranch Hand bumpers work with factory parking sensors?
Many Ranch Hand bumpers are designed to accommodate factory sensors depending on the bumper model and truck configuration. Always verify compatibility before purchasing.
-
How long does installation usually take?
For most DIY installers, a front bumper installation on a Silverado HD typically takes several hours. First-time installers may require additional time for wiring and alignment.
-
Will installing an aftermarket bumper void my truck warranty?
Generally, installing an aftermarket bumper does not automatically void the entire vehicle warranty. However, any damage directly caused by aftermarket parts may not be covered.
-
Do I need special tools for a Silverado 3500 HD replacement bumper install?
Most installations can be completed using standard hand tools, though lifting equipment and a torque wrench are highly recommended.