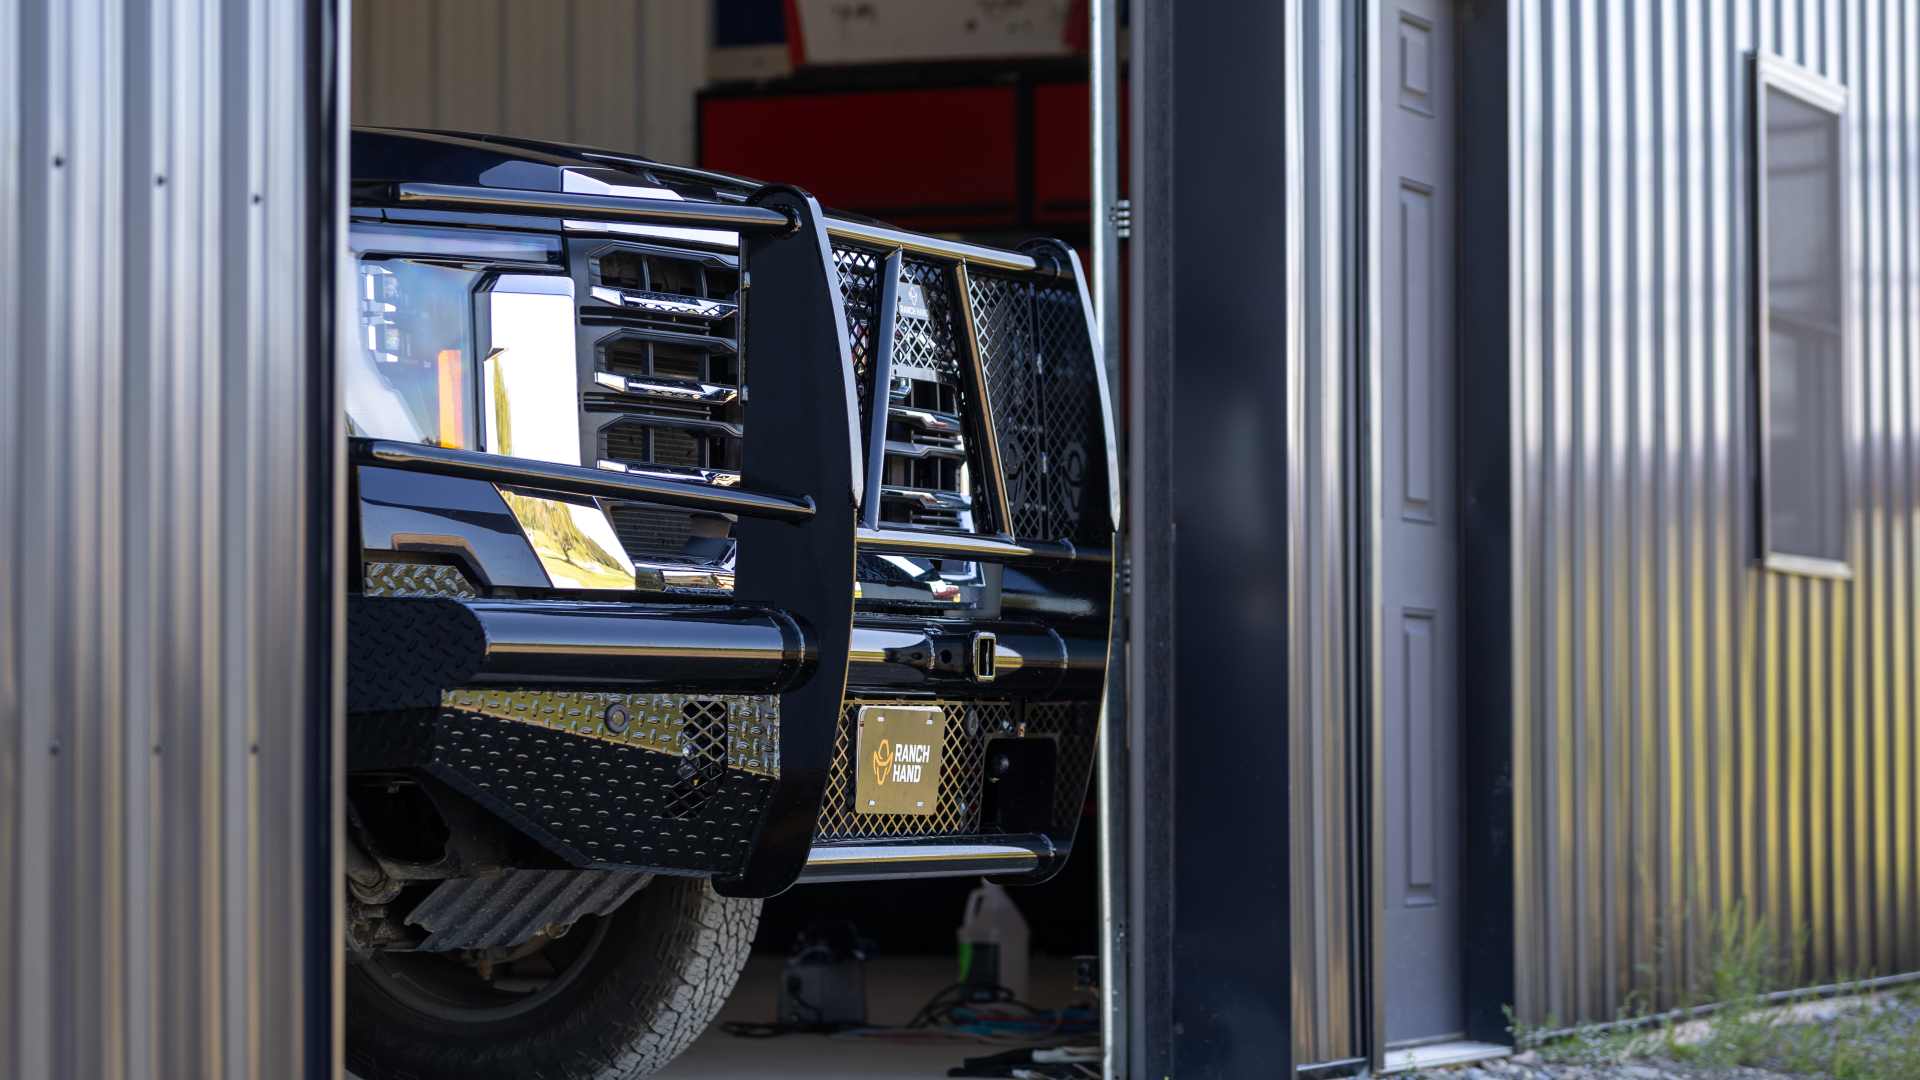
Upgrading Your GMC Sierra HD Bumper
A heavy-duty truck is built to handle demanding jobs, tough terrain, and long hours on the road. However, the factory bumper on a GMC Sierra 2500 HD or 3500 HD is often designed primarily for appearance and basic protection rather than maximum durability.
For owners who use their trucks on job sites, ranches, farms, hunting properties, or remote back roads, additional front-end protection can be a worthwhile upgrade. A heavy-duty aftermarket bumper can help provide increased protection against brush, debris, wildlife impacts, and the everyday wear that comes with putting a truck to work. Many replacement bumpers also offer improved functionality through features such as integrated lighting options, winch compatibility, recovery points, and accommodations for factory sensors.
That's why many truck owners choose a heavy-duty truck bumper replacement. Whether the goal is increased front-end protection, improved functionality, or a more aggressive appearance, upgrading to a Ranch Hand bumper can help make a Sierra HD better suited for the demands of work and recreation alike.
This GMC Sierra 2500 HD or 3500 HD replacement bumper installation guide walks through the general process of removing the factory bumper and installing a Ranch Hand replacement bumper. While specific procedures can vary by model year and bumper style, the overall installation process remains very similar across most GMC Sierra 2500 HD and GMC Sierra 3500 HD trucks.
- Upgrading Your GMC Sierra 2500 HD or 3500 HD Bumper
- Understanding the GMC Sierra Bumper Design
- What Does a Ranch Hand Bumper Include?
- Tools & Equipment Needed for Front Bumper Installation
- Safety Considerations Before Starting
- How to Replace a Front Bumper on a GMC Sierra 2500 HD or 3500 HD
- Front Bumper Wiring Considerations
- Front Bumper Fitment Tips for Sierra 2500 and 3500 HD
- Troubleshooting Fitment & Alignment Issues
- Final Inspection Best Practices
- DIY vs. Professional Installation
- After-Installation Maitenance
- FAQ About Front Bumper Installation
Why Upgrade the Bumper on a GMC Sierra 2500 HD or 3500 HD?
Heavy-duty trucks often operate in environments where front-end protection matters. Whether the truck is used for work, recreation, towing, or daily driving, the front bumper is one of the most vulnerable areas of the vehicle.
Owners frequently upgrade their bumpers for several reasons, including:
- Added protection from deer and wildlife strikes
- Improved durability on job sites
- Ranch and agricultural use
- Off-road travel
- Towing and hauling applications
- Recovery point integration
- Enhanced appearance
For many Sierra HD owners, a bumper upgrade is about more than looks. Trucks that spend time on rural highways, construction sites, oil fields, farms, or hunting properties are exposed to hazards that can quickly damage a factory bumper. A heavy-duty replacement bumper provides additional protection where it matters most and can help reduce damage from impacts that might otherwise leave a truck sidelined.
Functionality is another common reason for upgrading. Many aftermarket bumpers are designed to accommodate factory features such as parking sensors and lighting while also providing mounting locations for auxiliary lights, recovery equipment, or other accessories. This allows owners to tailor their truck to better match how it is used.
Of course, appearance also plays a role. A heavy-duty bumper gives a GMC Sierra 2500 HD or 3500 HD a more aggressive, purpose-built look that reflects the capability of the truck itself.
A Ranch Hand bumper is engineered specifically for demanding truck applications and provides significantly more protection than many factory bumpers, making it a popular upgrade for owners who expect more from their truck.

Understanding the GMC Sierra HD Bumper Design
Before beginning a GMC Sierra 2500 HD or 3500 HD bumper install, it helps to understand how the factory bumper is attached and what components may need to be transferred during the installation process.
Most GMC Sierra HD front bumpers mount directly to frame horns located at the front of the truck. The bumper assembly is secured using a combination of brackets and mounting hardware designed to support the bumper while maintaining proper alignment with the grille, headlights, and fenders. While the exact configuration varies by model year, the overall design is similar across many GMC Sierra 2500 HD and 3500 HD trucks.
Depending on model year, trim level, and factory equipment, the bumper assembly may also incorporate:
- Parking sensors
- Fog lights
- Tow hooks
- Air dam components
- Factory brackets
- Wiring harnesses
- Front-facing cameras
- Adaptive cruise control components
Because so many systems can be integrated into the front bumper, it is important to identify and disconnect all electrical connections before removing the factory assembly. Taking photos of wiring locations and connector routing can make reinstallation much easier later in the process.
One advantage of many Ranch Hand bumpers is that they are engineered specifically for the vehicle application. Rather than requiring extensive modifications to the truck, many models are designed to utilize existing frame mounting locations and accommodate factory features when applicable. This helps simplify installation while maintaining a secure fit and proper bumper alignment.
Understanding how the factory bumper is mounted before beginning the project can help installers anticipate potential challenges, organize removed components, and complete the installation more efficiently.
What's Included with a Ranch Hand Bumper?
Before starting the installation, it is helpful to familiarize yourself with the components included in the bumper kit. While contents vary depending on the specific bumper model and vehicle application, most Ranch Hand bumper installation kits include everything needed to mount the bumper to the truck.
Typical components include:
- Main bumper assembly
- Frame mounting brackets
- Support brackets
- Grade-8 hardware
- Bolts
- Washers
- Lock washers
- Nuts
- Installation instructions
The bumper itself arrives fully welded and finished, while the included brackets and hardware are designed to provide a secure connection to the truck's frame. Because Ranch Hand bumpers are engineered for specific vehicle applications, the supplied mounting components are designed to work together as a complete installation system.
Before beginning the installation, take a few minutes to unpack all components and compare them to the parts list included with the instructions. Confirm that all brackets, hardware, and accessories are accounted for and inspect them for any shipping damage. Organizing the hardware beforehand can help streamline the installation process and prevent unnecessary delays once work begins.
Taking inventory before turning the first wrench is a simple step that can save time and help ensure a smoother installation from start to finish.
Tools and Equipment Needed
Having the proper tools ready before starting can save considerable time and help the installation go much more smoothly. Taking a few minutes to gather everything beforehand can prevent unnecessary interruptions once the factory bumper has been removed and the truck is partially disassembled.
Recommended tools include:
- Ratchet and socket set
- Combination wrenches
- Torque wrench
- Breaker bar
- Trim removal tools
- Pry bar
- Screwdrivers
- Allen wrenches
- Impact wrench (optional)
- Floor jack
- Jack stands
- Moving blankets or cardboard
Many installers also find it helpful to have magnetic trays or small containers available for organizing hardware as components are removed. Keeping bolts, washers, and brackets organized throughout the project can make reassembly significantly easier.
Because Ranch Hand bumpers are substantially heavier than factory bumpers, lifting equipment or a helper can be extremely valuable during installation. While many truck owners successfully complete the project themselves, having a second person available during the test-fitting and final mounting stages can make positioning, alignment, and hardware installation much easier.
Safety Considerations Before Starting
Safety should always be the first priority when performing any bumper installation. Taking a few simple precautions before starting can help prevent injuries and protect both you and your truck throughout the project.
Before beginning:
- Park the truck on level ground
- Set the parking brake
- Disconnect the negative battery cable if electrical components will be disconnected
- Wear safety glasses and gloves
- Use proper lifting techniques
- Never position yourself beneath an unsupported bumper
Heavy-duty bumpers can weigh several hundred pounds depending on configuration, making them significantly heavier than the factory bumper being removed. Always have a plan for safely supporting, lifting, and positioning the bumper during installation. Whether you use a helper, a floor jack, or lifting equipment, maintaining control of the bumper at all times is critical for a safe and successful installation.
It's also a good idea to keep the work area clean and free of obstacles. A well-organized workspace can reduce trip hazards, make tools easier to access, and help the installation proceed more efficiently from start to finish.
Front Bumper Step-By-Step Installation Instructions

1. Remove the Factory Bumper
The first step of any GMC Sierra front bumper removal project is disconnecting all factory components attached to the bumper. Taking your time during removal can help prevent damage to wiring, sensors, and trim pieces that may be reused during the installation.
2. Disconnect Electrical Components
Depending on the truck, disconnect:
- Parking sensor wiring
- Fog light connectors
- Camera wiring
- Auxiliary lighting harnesses
Many newer Sierra HD models have multiple electrical connections integrated into the bumper assembly. Carefully disconnect each connector and avoid pulling on the wiring itself. Labeling connectors or taking a few reference photos can make reassembly much easier later.
3. Remove Factory Trim Components
Certain trim pieces, splash shields, air dams, or valance panels may need to be removed prior to bumper removal.
Store all hardware separately and keep related components together whenever possible. Small clips and fasteners can be easy to misplace once the project is underway.
4. Remove Factory Mounting Hardware
Locate the bumper mounting bolts attaching the bumper brackets to the frame.
Loosen and remove the hardware while supporting the bumper. Depending on the age of the truck and driving conditions it has been exposed to, some fasteners may require additional effort to remove due to dirt, corrosion, or road debris buildup.
Because factory bumpers can still be relatively heavy, having a helper support the assembly during removal is highly recommended. Once all hardware has been removed, carefully pull the bumper away from the truck and set it aside in a safe location.
5. Prepare the Frame and Mounting Points
With the factory bumper removed, inspect the mounting area before moving on to the new bumper installation.
Take time to:
- Remove dirt and debris
- Inspect frame mounting surfaces
- Check for rust or corrosion
- Verify mounting holes are unobstructed
- Inspect factory wiring for damage
This is also a good opportunity to clean areas that are normally hidden behind the bumper. Mud, road salt, and debris can accumulate around the frame over time and may interfere with proper bracket installation if left in place.
A clean mounting surface helps ensure proper bracket alignment during installation and can make the entire process go more smoothly.
6. Test-Fit the Ranch Hand Bumper
Before fully installing any hardware, perform a test fit to verify that all components align as expected.
Position the bumper near the frame and verify:
- Bracket locations align properly
- Wiring can be routed correctly
- Sensor openings match vehicle equipment
- Adequate clearance exists around body panels
This step can help identify potential issues before final assembly and may save significant time later. If any adjustments are needed, it is much easier to address them before the bumper is fully mounted and all hardware is installed.
Because Ranch Hand bumpers are precision-built for specific vehicle applications, the test-fitting process is typically straightforward, but it is still a valuable step that should not be skipped.
7. Install Mounting Brackets and Hardware
Most Ranch Hand bumpers utilize frame brackets designed specifically for the truck platform. These brackets serve as the foundation of the installation and play a critical role in bumper fitment and strength.
Install all supplied brackets according to the included instructions.
Important installation tips:
- Leave hardware loose initially
- Start all bolts by hand
- Verify bracket orientation
- Confirm mounting holes align correctly
Starting bolts by hand helps prevent cross-threading and allows minor adjustments as the installation progresses. Resist the urge to fully tighten any hardware at this stage.
Avoid fully tightening hardware until bumper alignment is complete. Maintaining some adjustability will make it much easier to achieve proper positioning later in the installation.
8. Position and Mount the Bumper
With brackets installed, carefully raise the bumper into position.
Because of the weight and size of most heavy-duty bumpers, this is often the portion of the installation where additional help is most beneficial.
Many installers use:
- A floor jack
- Multiple helpers
- Lifting equipment
Once positioned:
- Insert mounting bolts
- Install washers and lock nuts
- Confirm bumper seating
- Verify side-to-side positioning
Take a few moments to step back and visually inspect the bumper from multiple angles before proceeding. Small adjustments made now can significantly improve the final fit and appearance.
Leave final adjustment available before tightening.
9. Align the Bumper
Proper alignment is one of the most important parts of the installation. Even a high-quality bumper can look improperly installed if body gaps are uneven or the bumper sits slightly off-center.
Check:
- Hood-to-bumper gaps
- Fender-to-bumper gaps
- Centerline positioning
- Headlight clearance
- Ground clearance
Walk around the truck and inspect the fit from both close-up and several feet away. Looking at the truck from multiple angles can help identify alignment issues that may not be immediately obvious.
Small adjustments can significantly improve the final appearance. Take the time to achieve even spacing and consistent body lines before moving on to final tightening.
10. Tighten Hardware and Torque Fasteners
Once alignment is finalized, the installation can be completed by securing all hardware according to Ranch Hand's specifications.
Tighten hardware gradually:
- Alternate between mounting points
- Maintain alignment during tightening
- Follow Ranch Hand torque specifications
Working evenly across the mounting locations helps prevent the bumper from shifting as hardware is tightened. Periodically verify alignment throughout the process to ensure everything remains properly positioned.
Avoid over-tightening hardware beyond manufacturer recommendations. A calibrated torque wrench is strongly recommended to ensure the bumper is secured correctly while avoiding damage to fasteners or mounting components.
After all hardware has been tightened, perform one final inspection of the bumper, brackets, wiring, and body gaps before moving on to any lighting or sensor connections.
Wiring Considerations
Modern GMC Sierra HD trucks often include multiple electronic systems integrated into the front bumper. During installation, these components may need to be transferred from the factory bumper to the new Ranch Hand bumper to maintain full functionality.
Before reconnecting any electrical components, inspect all wiring harnesses, connectors, and mounting points for damage. This is also a good time to clean connectors and verify that wiring is routed away from sharp edges, moving components, or areas that may generate excessive heat.
1. Parking Sensors
Many GMC Sierra HD trucks are equipped with factory parking sensors integrated into the front bumper.
Transfer sensors according to Ranch Hand instructions and ensure they are installed in the correct locations and orientations. Even if the sensors physically fit into the bumper, incorrect positioning can affect performance.
Improper orientation can trigger warning messages, cause false alerts, or reduce sensor effectiveness. After installation, test the parking assistance system to confirm all sensors are functioning properly.
2. Fog Lights
If applicable, reinstall factory fog lights or compatible aftermarket lighting.
Carefully route the wiring and verify all connectors are fully seated before finalizing the installation. Loose connections can lead to intermittent operation or warning messages.
Once installation is complete, test all lighting functions before driving the vehicle. This includes fog lights, auxiliary lights, and any other lighting systems integrated into the bumper.
3. Cameras
Some GMC Sierra HD models feature front-facing camera systems that require careful relocation or integration during installation.
If the bumper is designed to accommodate a factory camera, follow the installation instructions closely to ensure the camera remains properly positioned. Even minor alignment issues can affect visibility and image quality.
After installation, verify that the camera view is clear and that all camera functions operate as intended.
4. Tow Hooks
Depending on bumper design, factory tow hooks may be retained, relocated, or replaced.
If tow hooks are being reused, inspect them for wear or damage before reinstalling them. Ensure all mounting hardware is properly tightened and that the hooks remain easily accessible after the bumper installation is complete.
5. Final Electrical Check
Before calling the project finished, reconnect the battery and perform a complete system check. Verify that all sensors, lights, cameras, and other electronic features operate correctly and that no warning lights or fault messages appear on the dashboard.
Taking a few extra minutes to test these systems can help identify wiring issues before the truck returns to the road.
Always consult the specific installation instructions for your bumper model when transferring sensors, lighting, cameras, or other factory equipment.

Fitment Tips for Sierra 2500 HD and 3500 HD
Fortunately, bumper installation is very similar between the GMC Sierra 2500 HD and 3500 HD. In many cases, the same Ranch Hand bumper application will fit both models, making the installation process nearly identical regardless of whether the truck is equipped as a 2500 HD or 3500 HD.
That said, fitment is determined by more than just the truck's model designation. Before ordering a bumper or beginning installation, it is important to verify that the bumper is designed for the specific year, trim level, and equipment package on the vehicle.
Owners should verify:
- Model year compatibility
- Trim package requirements
- Sensor package compatibility
- Diesel versus gas applications
- Factory camera systems
Model year is particularly important because GMC periodically updates front-end styling, grille designs, lighting configurations, and sensor locations. A bumper designed for one generation of Sierra HD may not fit another without modifications.
Trucks equipped with advanced driver-assistance features may also require special consideration. Parking sensors, front cameras, adaptive cruise control systems, and other factory technologies can affect bumper selection and installation requirements. Choosing a bumper specifically designed to accommodate these features can help ensure proper operation after installation.
Engine configuration may also play a role. Depending on the truck, diesel and gasoline models can have different cooling components, mounting configurations, or factory equipment that may impact bumper compatibility.
When in doubt, confirm fitment using the truck's year, make, model, trim level, and factory equipment before beginning the project. Taking the time to verify compatibility upfront can help avoid installation delays and ensure the bumper fits properly once it arrives.
Always confirm bumper fitment before beginning installation.
Troubleshooting Fitment or Alignment Issues
Even when following the installation instructions carefully, minor fitment or alignment issues can occasionally arise during a bumper installation. Fortunately, most problems can be resolved with a few adjustments before final tightening.
1. Uneven Body Gaps
If the spacing between the bumper and surrounding body panels appears uneven, the bumper may simply need additional adjustment.
Possible causes include:
- Brackets installed incorrectly
- Hardware tightened too early
- Bumper not fully seated
In most cases, loosening the mounting hardware slightly and readjusting the bumper position will resolve the issue. Because heavy-duty bumpers have multiple mounting points, even small adjustments can have a noticeable impact on overall alignment. Take time to check gaps around the grille, headlights, fenders, and hood before retightening the hardware.
2. Sensor Errors
If parking sensor warnings appear after installation, the issue is often related to sensor placement or wiring connections.
Check:
- Sensor orientation
- Connector engagement
- Wiring harness routing
Many parking sensors must be installed in a specific orientation to function properly. A sensor that is rotated incorrectly or not fully seated may trigger warning messages or provide inaccurate readings. Carefully inspect each sensor location and verify that all electrical connectors are fully engaged.
3. Bumper Appears Off-Center
If the bumper looks shifted slightly to one side, the issue is usually related to mounting bracket alignment rather than the bumper itself.
Verify:
- Bracket positioning
- Frame mounting locations
- Equal spacing from fenders
Measure body gaps on both sides of the truck and compare them. Often, loosening the hardware and making small side-to-side adjustments is all that is required to achieve a centered appearance. Minor adjustments often resolve alignment concerns.
4. Hardware Does Not Align
If mounting bolts do not line up with the corresponding holes, avoid forcing the hardware into place.
Recheck:
- Bracket orientation
- Model compatibility
- Installation sequence
Forcing bolts into misaligned holes can damage threads, distort brackets, or create fitment problems later in the installation. Instead, verify that all brackets are installed correctly and that the bumper application matches the truck. In many cases, leaving hardware loose and working through the installation sequence again allows components to settle into their proper positions.
Taking a methodical approach to troubleshooting can help identify the source of the problem and ensure the bumper is installed correctly, aligned properly, and ready for years of dependable service.
Final Inspection Best Practices
Before considering the project complete, take the time to perform a thorough final inspection. Even if the bumper appears properly installed, a careful review can help identify minor issues before they become larger problems down the road.
Verify the following:
- All fasteners are torqued properly
- Wiring connections are secure
- Parking sensors are functioning correctly
- Fog lights operate properly
- Body gaps are even
- Hood clearance is adequate
- The bumper is secure and stable
Start by checking every mounting bolt and bracket to ensure all hardware has been tightened according to Ranch Hand's specifications. It is easy to overlook a fastener during installation, especially after multiple test fits and alignment adjustments.
Next, inspect all electrical connections and test any integrated systems. Confirm that parking sensors, cameras, fog lights, and other factory features function properly and that no warning lights appear on the dashboard.
Visually inspect the truck from several angles to verify the bumper is centered and aligned correctly. Pay close attention to the spacing between the bumper, grille, headlights, fenders, and hood. Even small alignment adjustments can improve the overall appearance of the installation.
Finally, apply firm pressure to several areas of the bumper and verify there is no excessive movement. The bumper should feel solidly mounted with no shifting, rattling, or unusual flex.
A thorough inspection only takes a few extra minutes and can help ensure your Ranch Hand bumper is installed correctly, performs as intended, and is ready for years of dependable service.
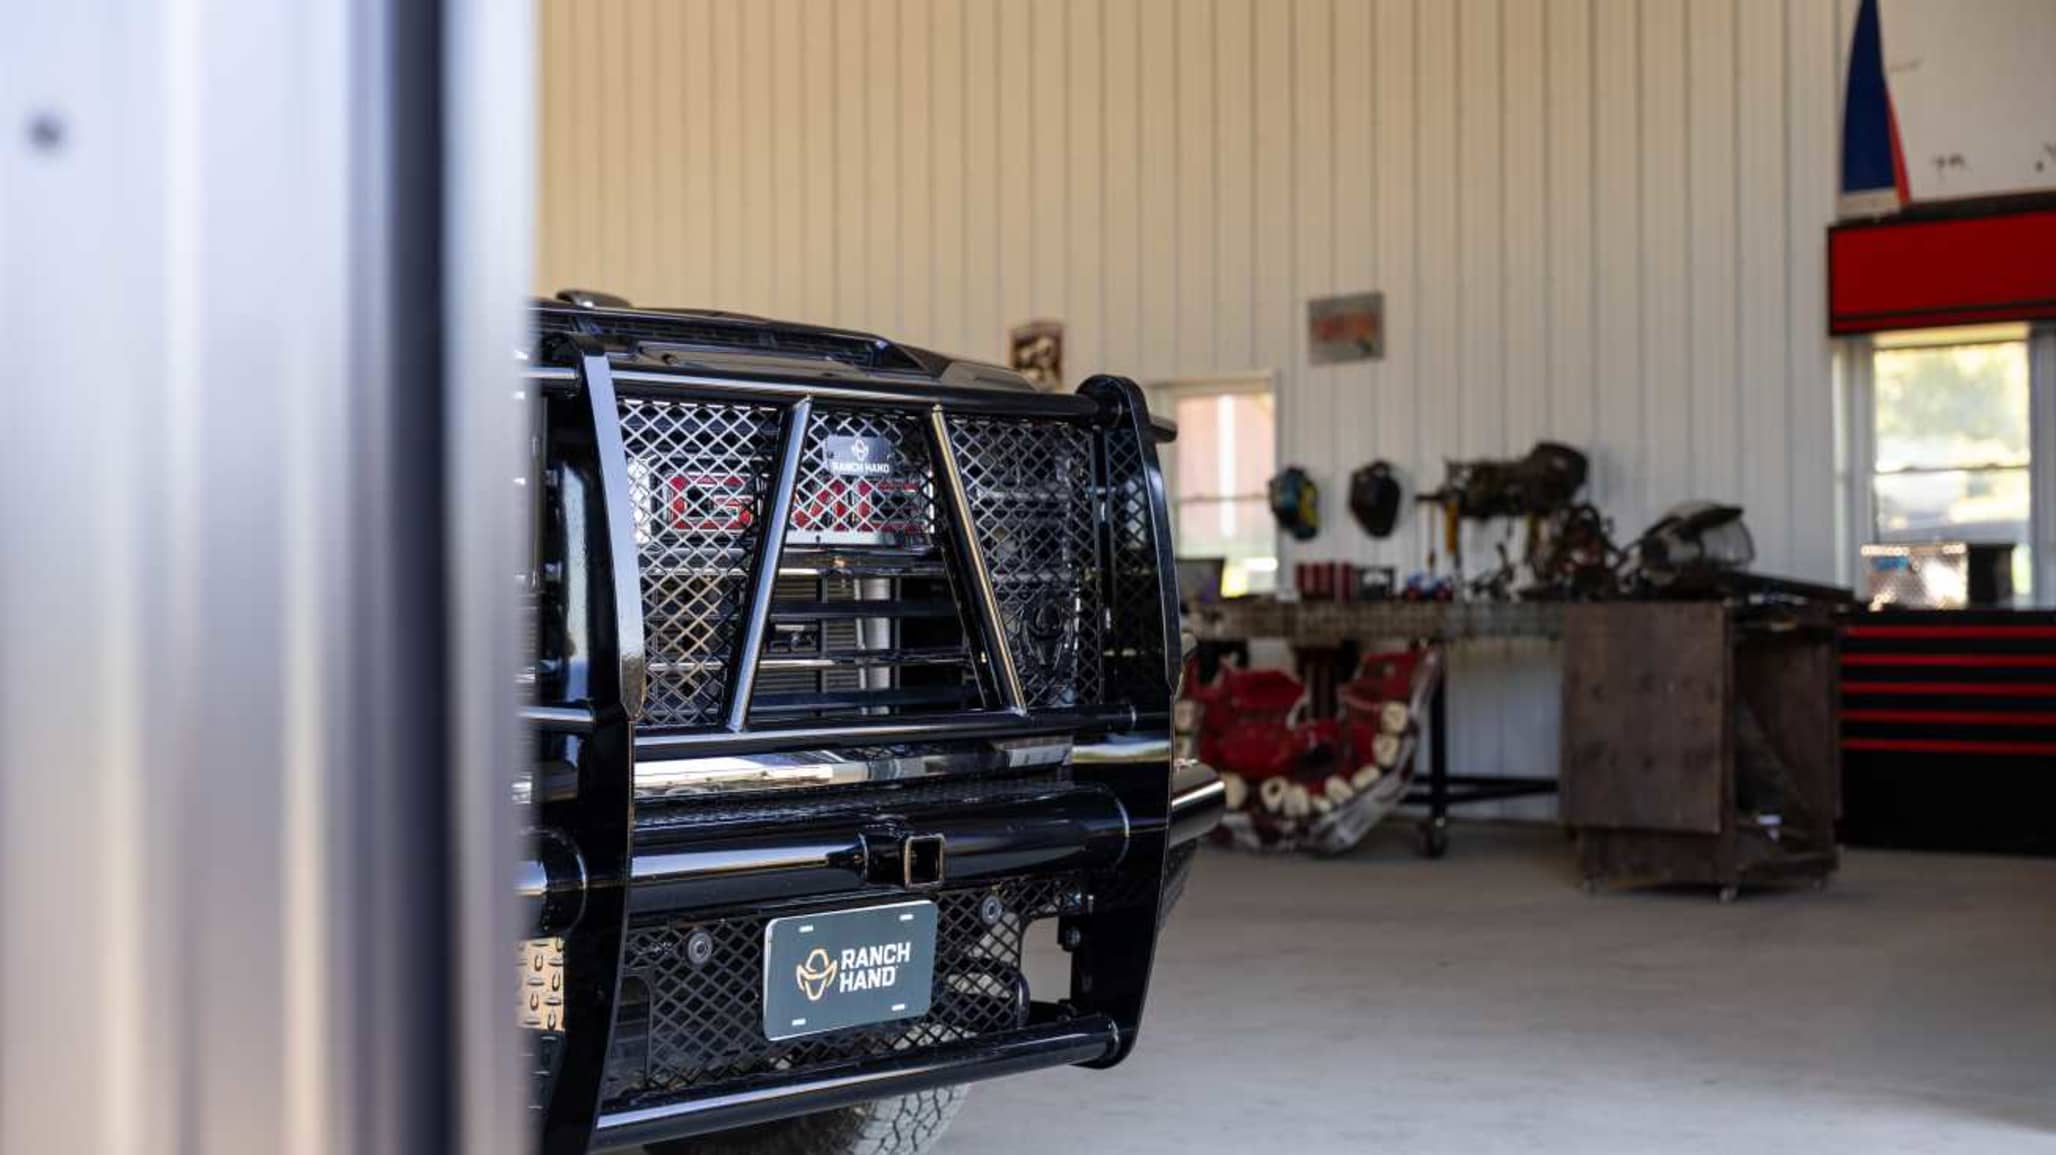
DIY vs. Professional Installation
Many experienced truck owners can successfully complete a GMC Sierra 2500 HD or 3500 HD replacement bumper installation at home. For individuals who regularly perform vehicle maintenance, install accessories, or tackle weekend garage projects, the installation process is generally well within reach with the proper tools, preparation, and attention to detail.
DIY installation may be a good fit if you:
- Have moderate mechanical experience
- Possess basic hand tools
- Have lifting assistance available
- Are comfortable working around vehicle electrical systems
Many owners choose the DIY route because it allows them to work at their own pace while gaining a better understanding of how the bumper and vehicle systems fit together. With careful planning and a helper available during the lifting and alignment stages, the installation can often be completed in a single day.
That said, professional installation may be the better option for some trucks and owners.
Professional installation may be preferable if:
- The bumper includes advanced sensor integration
- You lack lifting equipment
- The truck includes multiple camera systems
- You prefer expert fitment and alignment
Modern Sierra HD trucks can include a variety of technology packages that add complexity to the installation process. Parking sensors, front-facing cameras, and other driver-assistance features may require additional setup and testing to ensure everything functions properly after the bumper is installed.
Professional installers also have experience working with heavy aftermarket bumpers and can often complete the installation more quickly while ensuring proper fitment and alignment. For owners who are short on time or simply prefer the confidence of having the work performed by an experienced technician, professional installation can be a worthwhile investment.
Whether you choose to install the bumper yourself or have it professionally installed, taking the time to ensure the job is done correctly will help maximize the performance, appearance, and durability of your Ranch Hand bumper.
After-Installation Maintenance
Once the bumper is installed, a few simple maintenance practices can help ensure it continues to perform and look its best for years to come. Like any hard-working truck accessory, a heavy-duty bumper benefits from periodic inspections and routine care.
After installation:
- Recheck hardware after the first few hundred miles
- Inspect mounting points periodically
- Verify sensor operation regularly
- Wash road salt and debris from the bumper
- Touch up damaged finish areas if needed
One of the most important post-installation steps is rechecking all mounting hardware after the bumper has been driven for a short period. Normal vehicle vibrations and settling can occasionally cause hardware to loosen slightly, making a follow-up inspection a good precaution.
It's also a good idea to periodically inspect the bumper and mounting brackets for signs of loose hardware, corrosion, or damage, especially if the truck is used on rough roads, job sites, off-road trails, or in severe weather conditions. Trucks that operate in regions where road salt is common may benefit from more frequent inspections and cleaning.
If your bumper incorporates parking sensors, cameras, or lighting systems, verify that these features continue to operate properly during routine vehicle maintenance. Addressing minor wiring or sensor issues early can help prevent larger problems later.
Regular washing can also help preserve the bumper's finish. Removing mud, road salt, and other contaminants reduces the potential for corrosion and helps maintain the bumper's appearance. If the finish becomes chipped or scratched, touching up exposed areas promptly can help protect the underlying steel.
Routine inspections and basic maintenance require very little time but can help maximize the lifespan, appearance, and performance of your Ranch Hand bumper.
Final Thoughts on Ranch Hand Bumper Replacement
Installing a Ranch Hand bumper is one of the most effective ways to improve front-end protection on a GMC Sierra HD truck. Whether the truck is used for towing, job site work, ranch operations, hunting trips, or everyday driving, a heavy-duty bumper provides an added level of durability and confidence that many factory bumpers simply are not designed to deliver.
While the process requires careful planning and attention to detail, most installations follow a straightforward sequence of removing the factory bumper, preparing the frame, installing brackets, aligning the bumper, and completing final inspections. Taking the time to follow the installation instructions, verify fitment, and properly align the bumper can make a significant difference in both the appearance and long-term performance of the finished installation.
For truck owners who enjoy tackling their own projects, a Ranch Hand bumper installation can be a rewarding upgrade that delivers immediate benefits. And for those who prefer professional assistance, the end result is the same: a tougher, more capable truck that's better equipped for demanding conditions.
By taking the time to properly fit and secure the bumper, Sierra 2500 HD and 3500 HD owners can enjoy improved protection, enhanced durability, and a more capable truck for years to come. Whether you're looking to prepare your truck for work, recreation, or anything in between, a Ranch Hand bumper is an upgrade built to stand up to the challenges ahead.
Frequently Asked Questions about Sierra 2500 HD & 3500 HD Bumper Replacement
-
How long does a GMC Sierra 2500 HD or 3500 HD replacement bumper installation take?
Most installations take between two and six hours depending on experience level, vehicle configuration, and whether sensors or lighting systems need to be transferred.
-
Can I install a Ranch Hand bumper by myself?
Yes. If you're comfortable working with tools and tackling vehicle projects, a Ranch Hand bumper installation is a very manageable DIY job. Because the bumper is large and heavy, having a helper available can make installation much easier. If you're not confident in your mechanical abilities, professional installation is recommended.
-
Do Ranch Hand bumpers work with factory parking sensors?
Many Ranch Hand bumper models are designed to accommodate factory parking sensors. Always verify compatibility for your specific truck and bumper model.
-
Will I need to drill into the frame?
Most Ranch Hand bumpers are designed to utilize existing factory mounting locations. Installation requirements vary by application.
-
Should I re-torque the hardware after installation?
Yes. It is a good practice to inspect and re-torque mounting hardware after the initial break-in period and periodically throughout ownership.