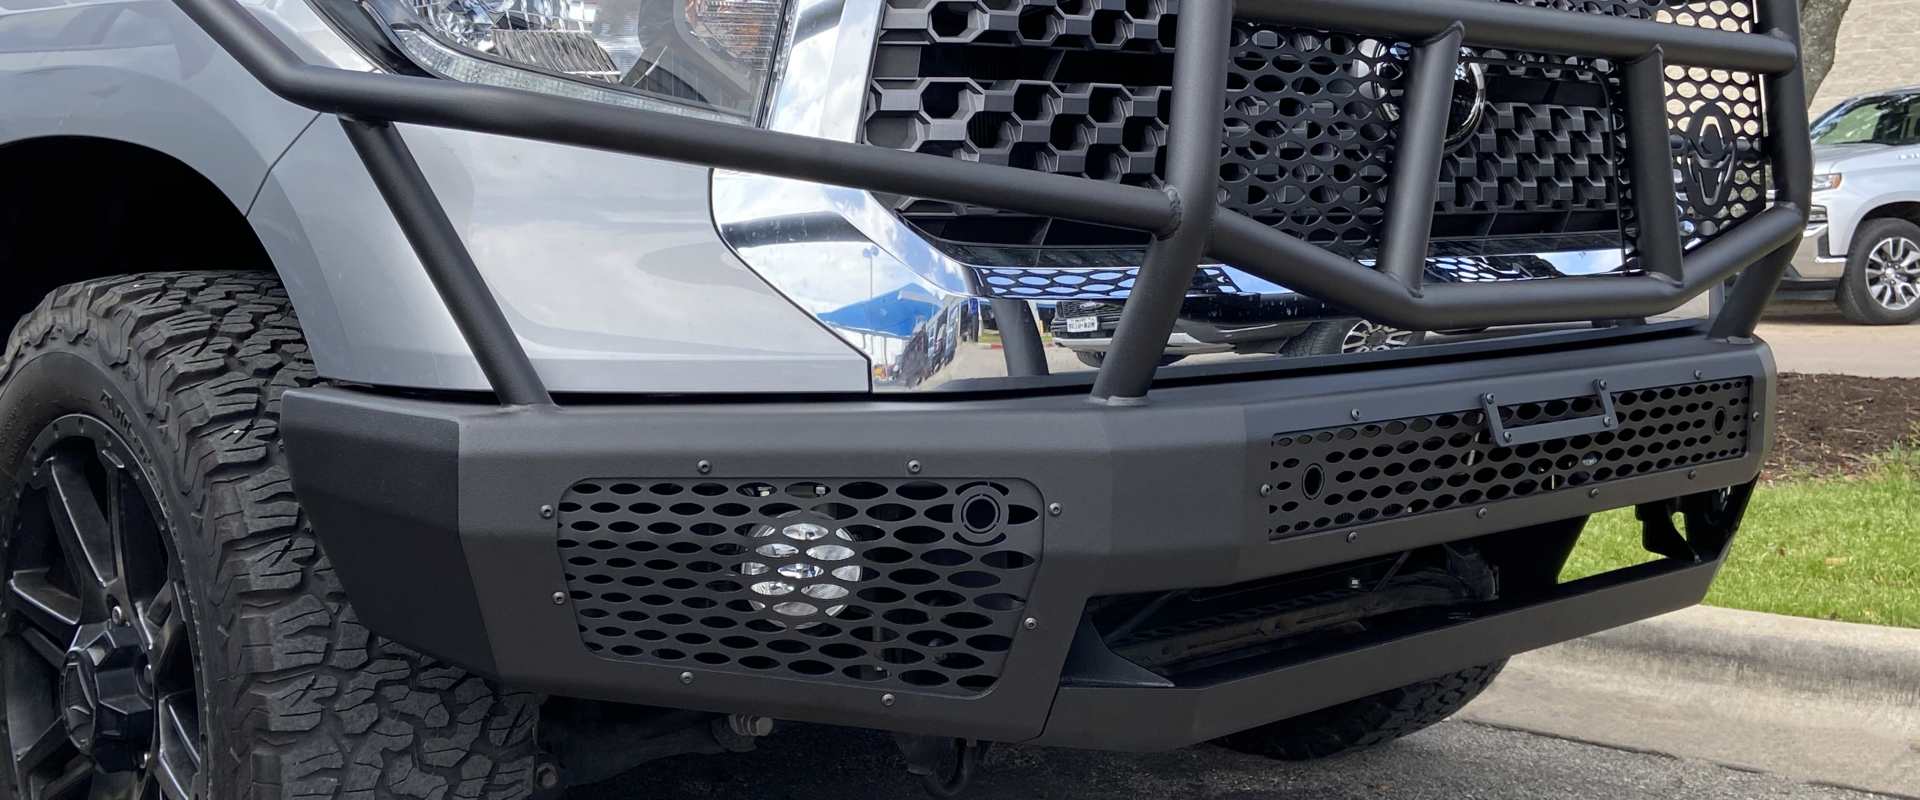
Installing a replacement bumper on a Toyota Tundra is one of the most popular upgrades truck owners make, and for good reason. While factory bumpers are designed to meet everyday driving needs and modern styling trends, many owners want something that offers greater durability, improved front-end protection, and a more rugged appearance.
Whether the truck is used for ranch work, construction, hunting trips, towing, or simply daily driving, a heavy-duty steel bumper can provide additional confidence when navigating challenging environments. Many aftermarket bumpers also accommodate auxiliary lighting, recovery points, and other accessories that make the truck more capable both on and off the pavement.
The thought of tackling a Toyota Tundra bumper installation can seem intimidating at first. The bumper itself is large, heavy, and often integrates with factory components such as parking sensors or fog lights. However, with proper preparation and patience, the installation process is generally straightforward and follows a logical sequence.
This guide walks through the process using a Ranch Hand bumper as a real-world example. While every bumper model has its own specific instructions and hardware, the overall installation principles remain similar across most aftermarket bumpers. By understanding what to expect before you begin, you can avoid common mistakes and complete the installation more efficiently.
Who This Guide Is For
One of the biggest questions truck owners ask before starting is whether installing a replacement bumper is a realistic do-it-yourself project. The answer depends less on advanced mechanical skill and more on preparation, available tools, and comfort working on large vehicle components.
Many experienced DIYers can successfully complete a Ranch Hand bumper install in their own garage over the course of an afternoon. The project typically involves removing factory hardware, transferring or reconnecting electrical components where applicable, installing mounting brackets, and carefully aligning the new bumper before final tightening.
A DIY installation may be an excellent option if you:
- Have moderate mechanical experience
- Own common hand tools and a torque wrench
- Have access to a level workspace
- Can recruit another person to help lift the bumper
- Feel comfortable following detailed installation instructions
However, there are situations where professional installation may be worth the investment. Modern Toyota Tundra models often include advanced technology such as parking sensors, cameras, and driver-assistance systems that require careful handling during installation. Improper wiring or misalignment could affect their operation.
Professional installation should be considered if:
- You lack lifting equipment or assistance
- Your truck has extensive electronic integrations
- You are uncomfortable working around wiring harnesses
- You want experienced technicians to ensure perfect alignment
Ultimately, there is no wrong choice. The goal is a properly installed bumper that performs safely and looks great for years to come.
- Why Ranch Hand Bumpers?
- Tools, Equipment & Prep Work Required
- Front Bumper Safety Considerations
- Removing the Toyota Tundra Factory Bumper
- Preparing Your Truck for Repacement Bumper
- Step-By-Step Bumper Installation Help
- Wiring Considerations
- Fitment Checks & Final Inspection Tips
- Post-Install Checklist
- What to Expect After Front Bumper Installation
- When to Consider Professional Installation
- FAQ
Why Use a Ranch Hand Bumper?
There are countless aftermarket bumpers available for the Toyota Tundra, but not all are built with the same purpose in mind. Some focus primarily on appearance, while others are designed to deliver serious protection and durability for trucks that see demanding work, off-road adventures, or daily towing.
Ranch Hand bumpers are a great example of a heavy-duty replacement built for real-world use. Constructed from heavy-gauge steel, they are engineered to provide significantly more front-end protection than many factory bumpers while maintaining a vehicle-specific fit for the Toyota Tundra. Whether you're driving through ranch land, navigating job sites, or simply want added peace of mind on rural roads where wildlife encounters are common, a steel bumper offers an extra layer of confidence.
These bumpers are designed to mount securely to the truck frame using model-specific brackets and hardware while accommodating many factory features when applicable. Depending on the application, they may allow for the integration of components such as parking sensors, lighting, or other accessories, helping preserve functionality while upgrading durability.
Another advantage is long-term reliability. Heavy-duty steel construction and corrosion-resistant finishes are built to withstand years of exposure to mud, gravel, road salt, and harsh weather conditions that can quickly take a toll on lighter materials.
While the exact installation procedure varies depending on the bumper model and the year of the Toyota Tundra, the overall process remains similar across most aftermarket steel bumpers. The project typically involves removing the factory bumper, installing mounting brackets, positioning the new bumper, aligning it properly, reconnecting any applicable electrical components, and performing a final inspection before hitting the road.
Tools & Prep Work
Preparation is one of the most important parts of a successful truck bumper installation. Taking the time to organize your workspace and gather the necessary tools before you begin can make the entire project smoother, safer, and significantly less frustrating.
Many installation problems do not come from the bumper itself. Instead, they are often the result of:
- Poor workspace setup
- Missing tools
- Improper lifting support
- Rushed preparation
- Hardware being misplaced
Before beginning, park the truck on a level surface and engage the parking brake. If possible, work in a well-lit garage or driveway with plenty of room around the front of the vehicle. Steel bumpers are large and heavy, and having adequate space to maneuver them reduces the risk of damaging either the bumper or the truck during installation.
It's also helpful to organize all supplied hardware before starting. Lay out bolts, washers, brackets, and any additional components according to the installation instructions so they're easy to locate when needed. Spending a few extra minutes preparing can save considerable time later in the project.
Helpful tools include:
- Ratchets
- Socket set
- Combination wrenches
- Torque wrench
- Screwdrivers
- Trim removal tools
- Pry tools
- Breaker bar
- Allen wrenches
Additional equipment that can make the installation easier includes:
- Floor jack
- Jack stands
- Work light
- Moving blankets
- Painter's tape to protect painted surfaces
Depending on the condition of your truck, penetrating oil can also be useful for loosening factory hardware that has been exposed to years of dirt, moisture, and road salt.
Finally, take a few moments to clean the frame rails and mounting locations before beginning installation. Removing dirt, rust, and debris allows the brackets to sit properly against the frame and makes it easier to inspect mounting surfaces for any damage or corrosion that should be addressed before the new bumper is installed.

Safety Considerations Before Starting
Replacement steel bumpers are significantly heavier than factory bumper assemblies and can be awkward to handle without proper equipment or assistance. Prioritizing safety throughout the installation not only helps protect the truck but also reduces the risk of personal injury.
Before removing the factory bumper:
- Disconnect the negative battery terminal if electrical components will be disconnected.
- Wear gloves and safety glasses.
- Support heavy components during removal.
- Never place yourself underneath an unsupported bumper.
- Organize removed hardware and clips.
Whenever possible, have a second person assist with lifting and positioning the bumper. While some installers use a floor jack to help support the weight, having another set of hands provides better control when aligning mounting points and reduces the chance of accidentally scratching the vehicle.
As factory hardware is removed, keep bolts, clips, and brackets organized in separate containers or labeled bags. This simple step makes reassembly much easier and helps prevent lost hardware from delaying the installation.
If your truck includes parking sensors, cameras, fog lights, or other electrical components integrated into the bumper, carefully disconnect all electrical connectors before attempting to remove the factory assembly. Avoid pulling on wiring harnesses, and inspect connectors for any signs of damage before reconnecting them during installation.
Finally, resist the temptation to rush the project. Most bumper installations go smoothly when each step is completed methodically, with frequent checks for alignment and proper fitment before hardware is fully tightened.
Removing the Factory Toyota Tundra Bumper
The first major step in any Toyota Tundra bumper installation is removing the original bumper assembly. While the exact procedure varies slightly depending on the model year and trim level, most installations follow a similar sequence and require patience more than specialized skills.
Before removing any hardware, take a few minutes to familiarize yourself with how the factory bumper is attached to the truck. Looking underneath the vehicle and identifying mounting points, wiring connectors, and brackets can help prevent surprises once disassembly begins.
Although exact procedures vary by model year, the process generally includes:
- Remove any lower splash shields or trim panels.
- Disconnect wiring for fog lights or sensors if equipped.
- Remove mounting hardware securing the bumper assembly.
- Support the bumper while removing the final fasteners.
- Carefully lift the factory bumper away from the truck.
Because the bumper assembly can become unstable once the final bolts are removed, it should always be supported during removal. Having a helper hold the bumper or using a floor jack can make this step significantly safer and reduce the risk of dropping or damaging components.
As parts are removed, keep factory hardware organized and label any electrical connectors if necessary. Even if some factory hardware will not be reused, staying organized throughout the project makes installation of the replacement bumper much easier.
Once the bumper has been removed, take the opportunity to inspect the front frame horns and mounting surfaces for signs of damage, rust, or excessive corrosion. Small issues that are easy to address now can become much more difficult after the new bumper is installed.
Cleaning these areas before moving forward also helps ensure the replacement bumper mounts properly and sits flush against the frame, leading to better alignment and a cleaner finished appearance.
Preparing the Truck for the Replacement Bumper
With the factory bumper removed, the next step is preparing the truck for the new bumper assembly. This stage is often overlooked, but proper preparation plays a major role in achieving good fitment and simplifying the remainder of the installation.
Before installing the new bumper, verify that all required brackets, hardware, and components are present. Compare the supplied parts to the installation instructions and separate them into logical groups so they are easy to access throughout the project.
Many aftermarket bumpers use dedicated mounting brackets that attach directly to the frame before the bumper itself is installed. These brackets serve as the foundation for the entire assembly, making proper installation and positioning especially important.
Preparation may include:
- Removing factory brackets
- Installing new mounting plates
- Relocating factory components when required
- Transferring compatible accessories
- Organizing hardware by installation sequence
Depending on the bumper design, this may also be the appropriate time to transfer or relocate components such as fog lights, parking sensors, or other factory equipment that will be reused. Carefully inspect wiring harnesses and mounting locations to ensure everything is clean and undamaged before installation.
It's also helpful to perform a dry fit of the brackets and compare them to the installation instructions before installing bolts. Confirming that everything is oriented correctly can prevent unnecessary adjustments later.
Avoid fully tightening any hardware during the early stages unless specifically instructed by the manufacturer. Leaving mounting brackets and bolts slightly loose provides valuable adjustment during final alignment, making it easier to center the bumper, achieve even body gaps, and ensure a professional-looking installation.

Step-by-Step Installation Process
Although every bumper differs slightly depending on the manufacturer and the Toyota Tundra model year, the overall installation process follows a straightforward sequence. The key to a successful installation is taking your time and resisting the urge to fully tighten components until everything has been properly aligned. Small adjustments throughout the process can make a significant difference in the final appearance and fitment of the bumper.
1. Install Mounting Brackets
The first step is installing the mounting brackets that will support the new bumper. Most aftermarket steel bumpers, including Ranch Hand models, utilize vehicle-specific brackets designed to attach directly to the truck's frame.
Begin by attaching the supplied brackets to the truck frame using the provided hardware. Start every bolt by hand rather than using an impact tool immediately. This helps prevent cross-threading and allows you to verify that each fastener is properly aligned before tightening.
At this stage, only snug the hardware enough to hold the brackets securely while still allowing for movement. Leaving the brackets slightly adjustable provides valuable flexibility during the alignment process later in the installation.
As each bracket is installed, compare its position to the installation instructions and confirm that it sits flush against the frame with no interference from wiring, factory components, or debris.
2. Position the Bumper
Once the mounting brackets are installed, the bumper itself can be positioned on the truck. Because steel bumpers are substantially heavier than factory bumpers, this step should never be rushed.
With assistance, carefully lift the bumper into place. Depending on the design, using a floor jack or adjustable stands can help support the weight while allowing you to make small positioning adjustments.
Align the bumper with the mounting brackets and install the primary mounting bolts. Start all hardware by hand before tightening to ensure everything lines up correctly.
Again, avoid fully tightening the hardware until final alignment is complete. Even slight adjustments of a quarter inch can improve body gaps and overall appearance, so maintaining some flexibility at this stage is beneficial.
3. Connect Additional Components
After the bumper is securely supported and loosely mounted, reconnect any electrical or accessory components that are compatible with the new bumper.
If applicable, reinstall or connect:
- Fog lights
- Parking sensors
- Wiring harnesses
- Auxiliary lighting
- Other compatible accessories
Carefully inspect all wiring before reconnecting it. Look for damaged insulation, loose connectors, or areas where the harness may rub against metal surfaces after installation.
Take care to route wiring away from moving parts, suspension components, and sharp edges that could eventually wear through the insulation. Secure loose wiring with appropriate clips or zip ties to keep everything organized and protected.
Before final assembly, it is also a good idea to test any electrical components to confirm they are functioning properly while access remains easy.
4. Mounting Brackets and Hardware
Proper bracket installation largely determines how well the bumper fits the truck. Even a high-quality bumper can appear misaligned if the mounting hardware is installed incorrectly or tightened prematurely.
During installation:
- Verify brackets sit flush against mounting surfaces.
- Confirm all hardware is installed in the proper locations.
- Use flat washers and lock washers where specified.
- Ensure bolts are threaded correctly before tightening.
As hardware is installed, periodically inspect both sides of the truck to verify the brackets remain symmetrical. Small differences at the bracket level can become much more noticeable once the bumper is fully installed.
Do not force misaligned components into position or attempt to pull them together by overtightening bolts. Instead, loosen the affected hardware slightly and make incremental adjustments until everything aligns naturally. Taking the time to fine-tune the installation almost always results in a cleaner, more professional-looking fit.
5. Test Fitting & Alignment
Before any hardware is fully tightened, perform a thorough inspection of the bumper's position from multiple viewpoints around the truck. This is one of the most important steps in achieving an installation that looks factory installed.
Step back and inspect the bumper from multiple angles.
Check:
- Gap consistency between bumper and body
- Side-to-side symmetry
- Hood clearance
- Fender alignment
- Headlight clearance
Also inspect the bumper from lower viewing angles and verify that it sits level relative to the grille and front body lines. What appears centered from one perspective may reveal a slight shift when viewed from another.
Minor adjustments during this stage often produce a noticeably cleaner finished appearance and can prevent frustration after the hardware has been fully tightened.
6. Final Tightening & Torque Considerations
Once satisfied with the fitment and alignment, the final step is securing the bumper according to the manufacturer's specifications.
Tighten all hardware according to the installation instructions and any published torque values. A torque wrench should always be used where specified to ensure fasteners are neither over-tightened nor under-tightened.
Work through the mounting hardware in a logical sequence, alternating from side to side when appropriate to promote even clamping force across the assembly. After each section is tightened, perform one final visual inspection to confirm that the bumper has not shifted during the process.
Following installation, drive the truck normally and recheck all accessible hardware after the first several hundred miles. Heavy-duty steel bumpers naturally experience vibration and settling during initial use, so verifying that bolts remain properly tightened is an important part of long-term maintenance and safety.
Wiring Considerations
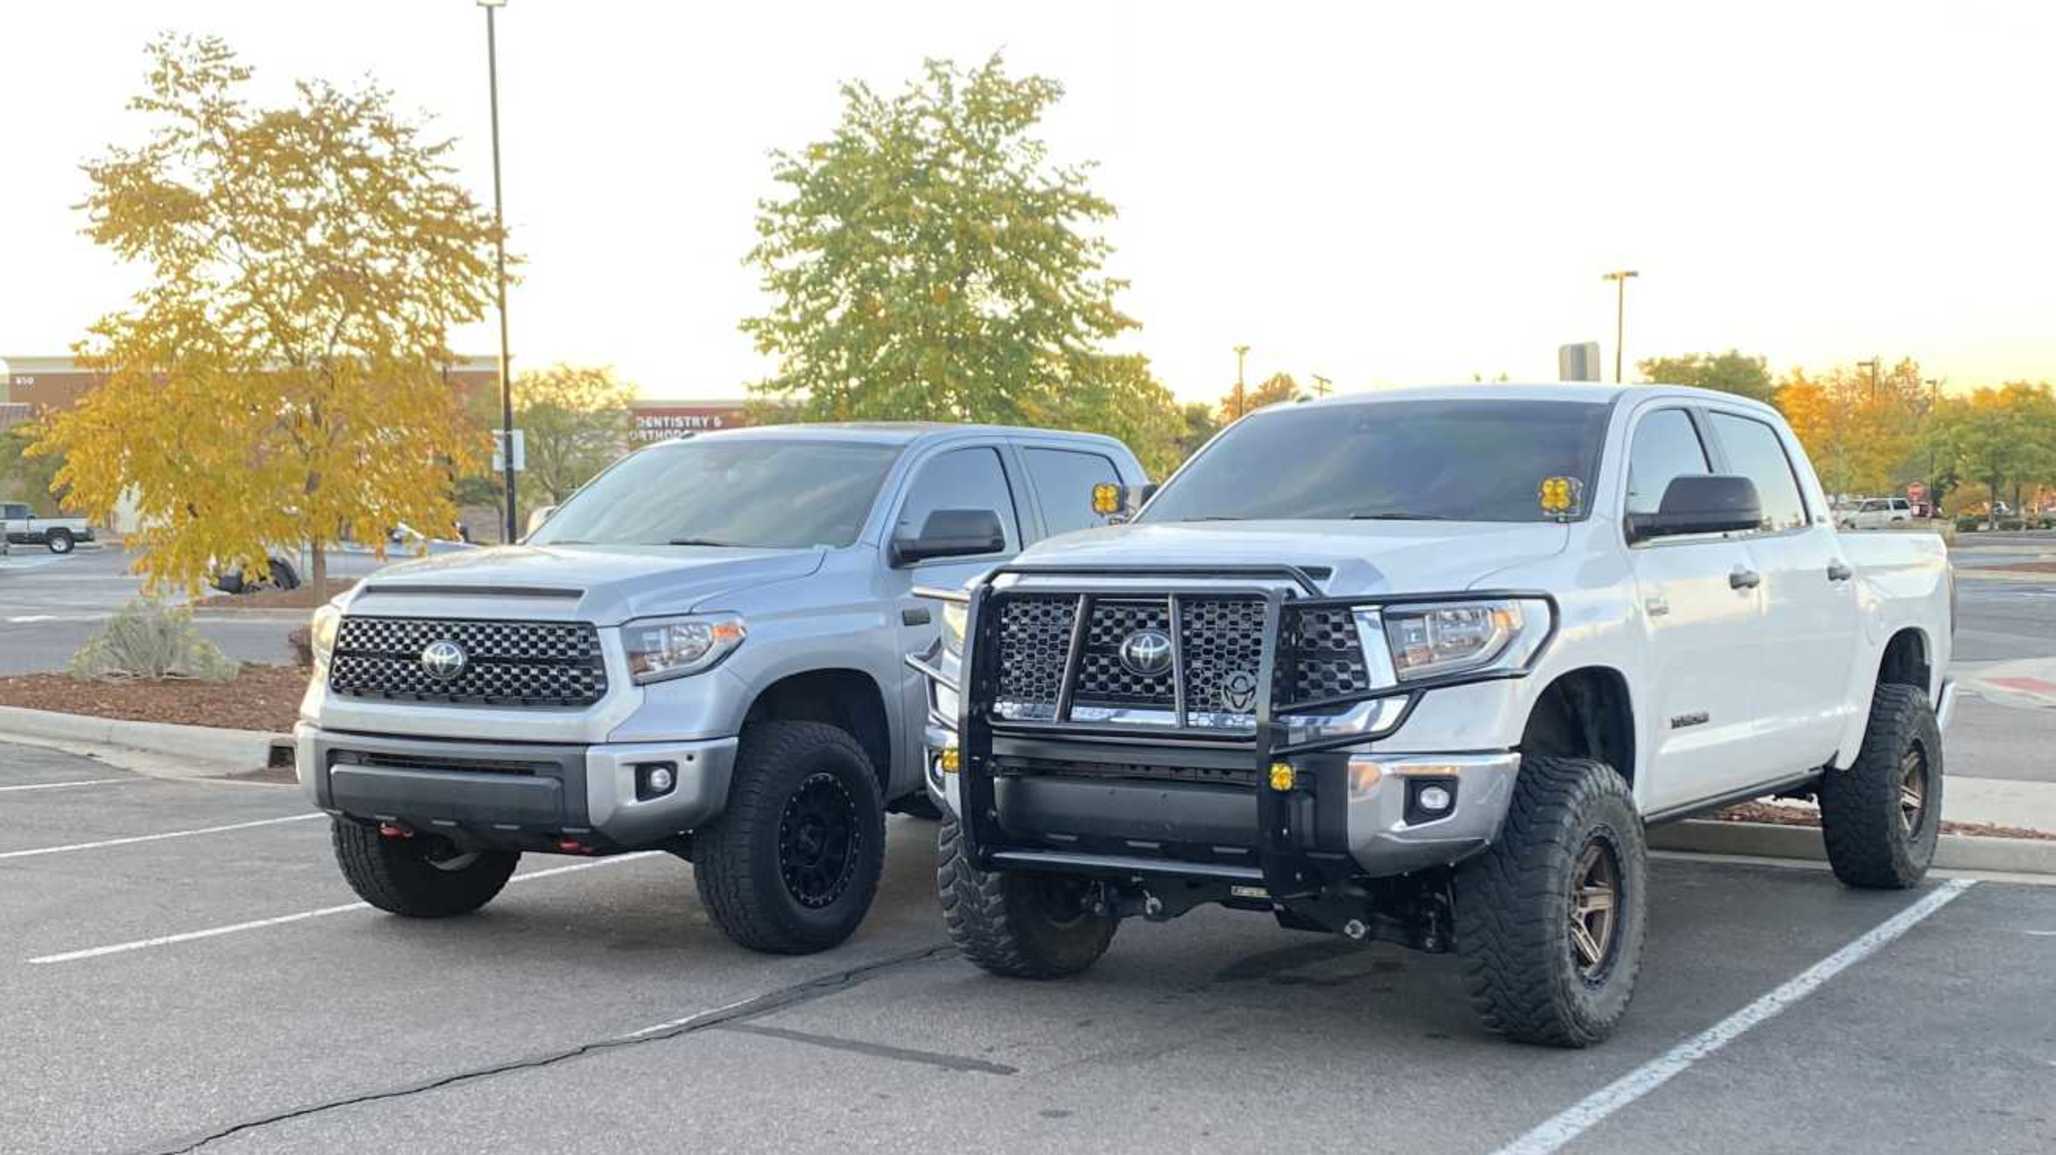
Modern Toyota Tundra models may include several electrical features integrated into the front bumper area. While the mechanical installation of a replacement bumper is often the largest part of the project, properly reconnecting these electrical components is equally important to ensure the truck functions as intended.
Depending on your truck, these may include:
- Parking sensors
- Fog lights
- Cameras
- Auxiliary lighting
Before reconnecting any wiring, inspect each connector and harness for signs of wear, corrosion, or damaged insulation. Since the bumper has already been removed, this is an excellent opportunity to address any minor issues that might otherwise go unnoticed.
As wiring is routed through the new bumper, avoid placing harnesses near sharp edges, moving suspension components, or areas where vibration could eventually wear through the protective covering. Using factory-style clips, zip ties, or protective loom can help keep wiring secure and organized.
If your replacement bumper requires transferring factory sensors or lighting components, follow the manufacturer's instructions carefully to ensure they are installed in the correct locations and orientations. Even small positioning differences can affect the performance of parking sensors or cameras.
Always verify proper operation before considering the installation complete. Test every applicable electrical component before cleaning up your tools so that any necessary adjustments can be made while the bumper is still easily accessible.
If additional aftermarket lights are installed, follow proper wiring practices and fuse protection recommendations. Using appropriately sized wiring, quality connectors, and weather-resistant components will help ensure reliable performance for years to come.
Fitment Checks & Final Adjustments
Once the bumper has been mounted and all major components have been connected, take the time to perform a complete fitment inspection before declaring the project finished. Even well-designed aftermarket bumpers often require minor adjustments to achieve the best possible appearance.
After installation, perform a complete inspection.
Verify:
- The hood opens and closes normally
- All lighting functions properly
- Sensors operate correctly
- Wiring is secured
- No components contact moving parts
- The bumper sits level across the front of the truck
Walk around the truck and inspect the bumper from multiple viewing angles. Check that body gaps are consistent from left to right and that the bumper aligns evenly with the grille, headlights, and fenders. Looking at the truck from several feet away often makes small alignment issues easier to spot than inspecting it up close.
Also inspect underneath the vehicle to verify there is adequate clearance around brackets, wiring, and other components. Confirm that nothing will rub against moving parts or become pinched during normal operation.
Small adjustments can typically be made before fully finalizing the installation. Spending a little extra time on alignment often results in a cleaner, more professional-looking finished product.
Post-Install Checklist
With the installation complete, it's a good idea to perform one final inspection before putting the truck back into regular service. A systematic review helps ensure nothing was overlooked during the installation process and provides added confidence before the first drive.
Once everything is assembled, complete the following checklist:
- All hardware tightened to specification
- Electrical connectors fully seated
- Lights tested
- Sensors tested
- Wiring secured
- Bumper centered
- Hood clearance verified
- No unusual noises during a short test drive
After completing the checklist, take the truck on a short drive over a variety of road surfaces while listening for any rattles, vibrations, or unusual noises that could indicate loose hardware or improper fitment. Once the test drive is complete, perform one final visual inspection to confirm everything remains secure.
Periodic inspections should become part of normal vehicle maintenance. Rechecking accessible hardware after the first few hundred miles and during routine service intervals can help ensure the bumper continues to perform as intended.

What to Expect After Installation
Installing a heavy-duty steel bumper changes more than just the appearance of your Toyota Tundra. Because steel bumpers are substantially heavier than factory bumper assemblies, some differences in the way the truck sits and drives are normal.
Because of this, some owners may notice:
- Slight front suspension compression
- A modest change in ride height
- Different steering feel
- Increased front-end weight
For many trucks, these changes are relatively minor and may not be noticeable during everyday driving. However, if the bumper is paired with additional accessories such as a winch, grille guard, or auxiliary lighting, the combined weight may place additional load on the front suspension.
Some owners who frequently carry heavy accessories or use their truck in demanding conditions choose to upgrade suspension components to better support the added weight and maintain factory ride characteristics.
After installation, monitor the truck during normal driving and inspect mounting hardware periodically. Paying attention to steering feel, ride quality, and bumper alignment during the first several trips can help identify any adjustments that may be needed.
When to Consider Professional Installation
Many experienced DIYers can successfully complete a Toyota Tundra replacement bumper installation, especially when working with the proper tools and adequate assistance. However, there are situations where professional installation may provide additional convenience and peace of mind.
Professional installation is worth considering if:
- The truck has advanced driver assistance systems
- Sensor calibration is required
- Additional electrical accessories are being installed
- Specialized lifting equipment is unavailable
- You are uncomfortable handling heavy steel components
Professional installers have experience aligning large steel bumpers, properly routing electrical components, and ensuring factory systems continue to operate correctly after installation. They may also have lifting equipment that makes handling heavy assemblies safer and more efficient.
For owners who are uncertain about any portion of the installation, seeking professional assistance can help avoid unnecessary delays or costly mistakes. A properly installed bumper not only looks better but also helps maximize durability, functionality, and long-term performance.
FAQ About Toyota Tundra Bumper Replacement
-
How long does a Toyota Tundra bumper installation take?
For an experienced DIY installer with proper tools and assistance, installation may take several hours. First-time installers should allow additional time for preparation and alignment.
-
Can I install a steel bumper by myself?
Yes, you can but steel bumpers are heavy and can be difficult to maneuver. We strongly reccomend having at least one other person to help.
-
Will installing a steel bumper affect ride height?
The added weight may cause slight front suspension compression depending on the bumper design and any additional accessories installed.
-
Do I need special tools?
Most installations can be completed with standard hand tools, although a torque wrench and lifting assistance are highly recommended.
-
Should I retorque the hardware after installation?
Yes. It's good practice to inspect and recheck mounting hardware after the first few hundred miles to ensure everything remains secure.